
How to Make Plantable Seed Paper
How to Make DIY Seed Paper for Eco-Friendly Crafts and Invitations
Table of Contents
Understanding Seed Paper: The Basics
I’ve never been big into crafts. During my elementary school years I probably ended up eating more of the glue during craft time then actually using it to stick pieces of macaroni together. My finger paintings looked as though someone had sneezed paint onto a piece of paper, and my Christmas ornaments resembled some sort of bizarre fishing tackle. Even today, my craftiness expertise is often lacking. Unlike my talented sisters, queens of Pinterest, I seem to have gotten the short end of the craftiness stick.
But things are about to change. Recently I was introduced to something called “seed paper”. Seed paper is literally paper with seeds embedded into it. When this paper is placed on top of soil and watered, it will germinate and begin sprouting seedlings. Eventually the paper will decompose and leave the seedlings to grow into mature plants. With me being the plant nerd that I am, I was immediately intrigued. Seed paper is simple to make, even for craft-impaired folks like me and can be used as invitations (wedding invitations seem to be a very popular use for seed paper), birthday cards, or other crafts with a gardening or flower theme. So roll up your sleeves and get ready to make seed paper! Just don’t eat it.
What is seed paper and how do you use it? Seed paper is paper embedded with seeds. When planted in soil and watered, the paper decomposes, and the seeds germinate into seedlings, eventually growing into mature plants. It is often used for eco-friendly wedding invitations, birthday cards, and other crafts with a floral theme, offering a unique, zero-waste alternative to traditional paper goods.
Materials and Preparation
Step 1: Gather Paper, Tear, Put into Blender
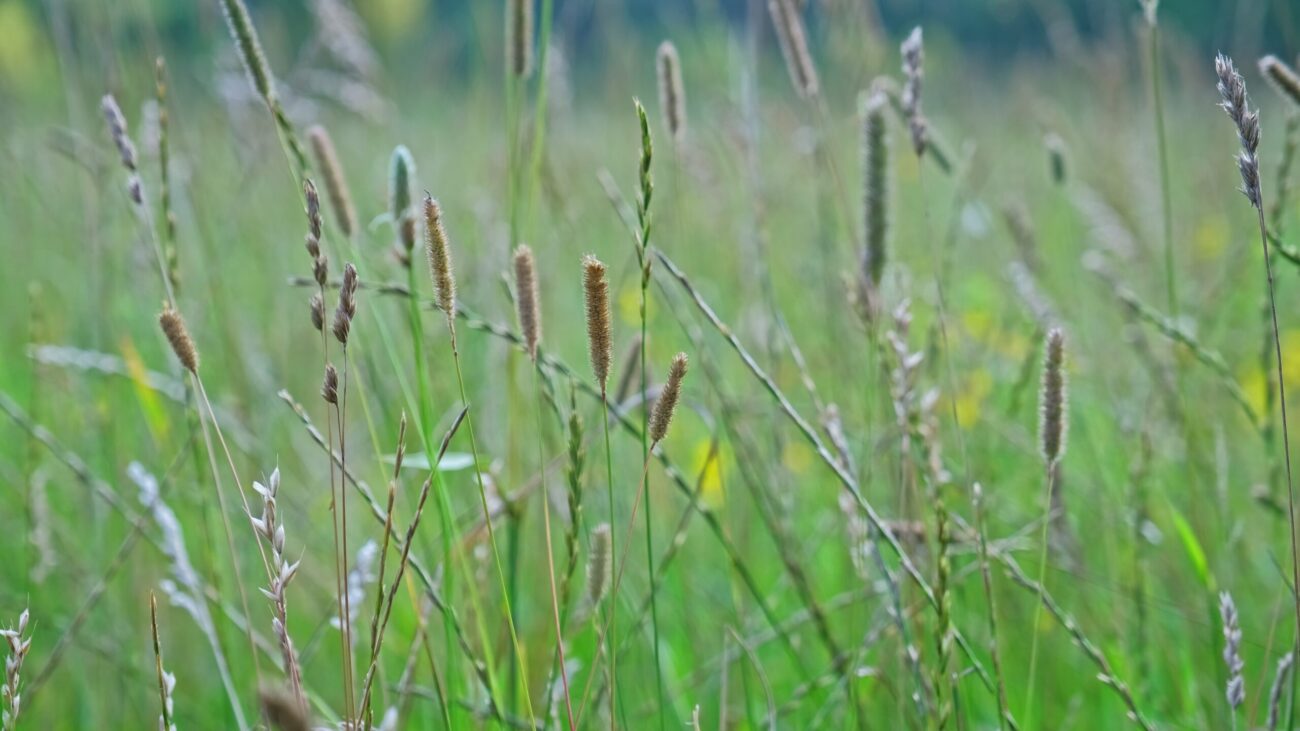
You will first need to gather together a large pile of recyclable paper. Some of the best sources for this paper include newspaper, egg cartons, tissue paper, phone book pages, paper grocery bags, and scraps of unprinted computer paper. Avoid glossy or heavily-inked paper, which can contain toxins that may inhibit seed growth. After you have gathered your paper, tear and shred it into very small pieces. Grab your blender jar and fill it half-full with the freshly torn pieces of paper. Ensure your paper is completely shredded to allow for a smooth pulp texture.
Step 2: Pour in Warm Water, Blend into a Smooth Pulp
Next, pour some warm water over the pieces of paper in the blender jar. Continue pouring the water into the blender jar until it has filled the blender to the top line. Now you will turn the mushy mess into a fine pulp by turning on the blender to a low speed for about ten seconds. After ten seconds on a low setting, increase the speed for about thirty seconds more. After this there should be no visible paper flakes remaining. The result should be a smooth, watery paper pulp. If the consistency is too thick, add a little more water.
Step-by-Step Guide to Making Seed Paper
Step 3: Stir in Seed, Strain
Now comes the time to add the seeds. Sprinkle about a teaspoon of flower seeds into the mixture and stir them in. DO NOT BLEND! Blending will destroy the seeds. Stir them only. As for the type of seeds to use, it would be a good idea to use a wildflower seed blend that is adaptable to the type of climate in which the seed paper will be planted. Our premium wildflower seed blends are customized for specific areas of the country and will thrive in those regions. This is a crucial step to ensure a high germination rate. Alternatively, you could use herb or vegetable seeds. For a great mix of flowering annuals, check out our Annual Wildflower Seed Mixes.
After you have added the seeds, pour the mixture into a strainer and get rid of as much water as possible. You can use a spoon or spatula to press the mixture against the strainer to squeeze as much water as you can from the pulp. It’s important to remove most of the water to speed up the drying process.
Step 4: Spread Pulp, Flatten, Dry
You will now need to lay out a piece of terry cloth, microfiber towel, or flannel on a flat surface. Dump the pulp onto the fabric and use a spoon or spatula to spread the pulp over the fabric. You can spread it into any shape you want, just be sure to spread it as thin as possible to ensure it dries quicker. For uniform shapes, you can use cookie cutters or mold frames. After you have spread the pulp, use a sponge to flatten the mixture and soak up more water. After the pulp has dried on one side, turn it over and allow the other side to dry completely. Once both sides are dry, your seed paper is ready for use.
Tips for High-Quality Seed Paper:
- Use non-GMO, open-pollinated seeds for the best results. The Bee-Friendly Wildflower Mix is an excellent choice.
- For faster drying, place the fabric with the pulp in a sunny, well-ventilated area.
- Reference the USDA Plant Hardiness Zone Map to select seeds appropriate for the planting region.
Creative Uses for Homemade Seed Paper
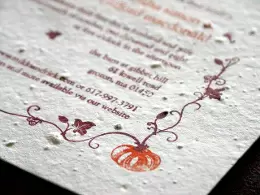
Seed Paper Makes Great Note Paper, Invitations, Post Cards

Like I mentioned, seed paper can be used for many things such as note cards, invitations, or postcards. They make great Mother’s Day cards or wedding and shower invitations**, and once they are placed in soil and watered they will begin to grow. Homemade seed paper cards are a unique gift that will keep on giving for years to come. It also makes a useful paper product that would otherwise end up in a landfill. For a lovely gift that enhances local ecosystems, consider incorporating Butterfly Garden Seed Mixes into your paper.
A seed paper invitation or card is truly the one thing that is okay to litter! For those interested in large-scale ecological restoration, this craft mirrors the concept of using native plant seeds, which are available in bulk, such as our Native Grasses and other cover crop seeds. Learning to make seed paper is a fantastic, sustainable, and fun activity that results in a beautiful product.
